Notifications. Кастомні сповіщення
 Android надає нам можливість самим створити
 layout для повідомлень.
Розглянемо простий приклад:
layout/notification.xml
<?xml version="1.0" encoding="utf-8"?>
<LinearLayout xmlns:android="http://schemas.android.com/apk/res/android"
   android:id="@+id/root"
   android:layout_width="match_parent"
   android:layout_height="64dp"
   android:orientation="horizontal">

   <TextView
       android:id="@+id/textView"
       android:layout_width="wrap_content"
       android:layout_height="wrap_content"
       android:layout_marginStart="8dp"
       android:layout_marginTop="8dp"
       android:text="TextView"
       android:textAppearance="@style/TextAppearance.Compat.Notification.Title" />

</LinearLayout>
Висота 64dp - стандартна висота повідомлення.
Будемо показувати тільки TextView. Рекомендується використовувати @style/TextAppearance.Compat.Notification.* стилі, щоб ваш текст коректно відображався на будь-якій версії Android.
Код білдера повідомлення має такий вигляд:
RemoteViews remoteViews = new RemoteViews(getPackageName(), R.layout.notification);
remoteViews.setTextViewText(R.id.textView, "Custom notification text");
remoteViews.setOnClickPendingIntent(R.id.root, rootPendingIntent);

NotificationCompat.Builder builder = new NotificationCompat.Builder(this)
       .setSmallIcon(R.mipmap.ic_launcher)
       .setContent(remoteViews);
Створюємо RemoteViews з layout файлу.
Методом setTextViewText поміщаємо текст у View c id = R.id.textView.
А методом setOnClickPendingIntent вказуємо PendingIntent, який буде викликаний при натисканні на View з id = R.id.root. У нашому прикладі root - це кореневий LinearLayout. Відповідно під час натискання на сповіщення, буде використано цей PendingIntent, щоб запустити Activity/Service/BroadcastReceiver.
У білдері залишається необхідність вказати іконку, яку буде видно в області повідомлень. А ось методи setContentTitle і setContentText не потрібні. Замість них використовуємо setContent і передаємо туди створений RemoteViews.
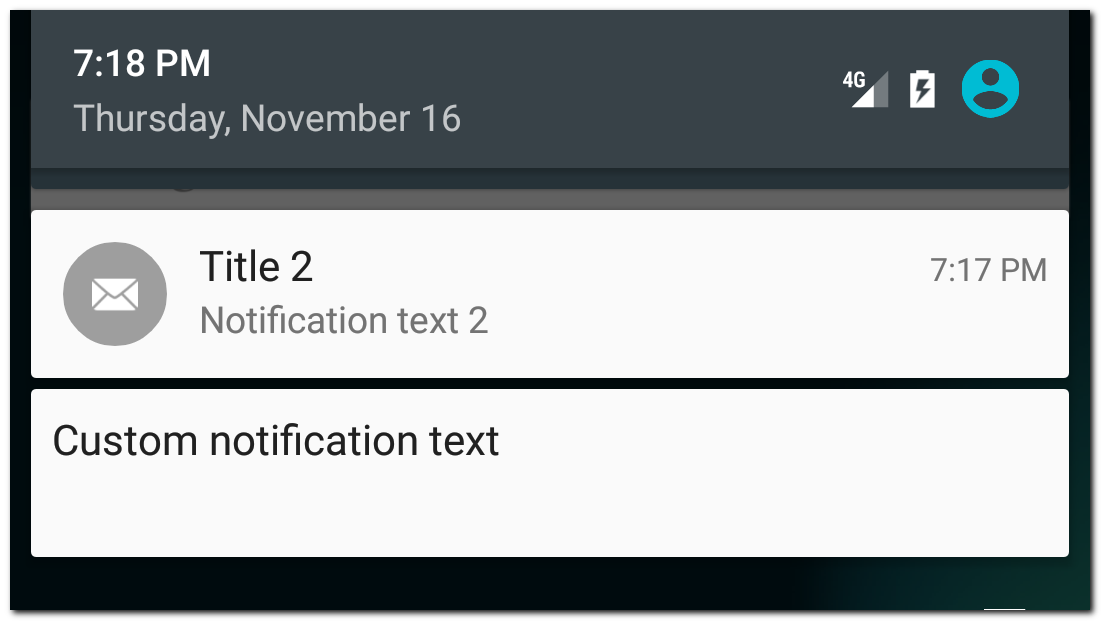
У результаті побачимо своє повідомлення

Для порівняння поруч відображено стандартне повідомлення.
Є ще один, новіший, спосіб створення кастомного повідомлення - використання стилю DecoratedCustomViewStyle.
RemoteViews remoteViews = new RemoteViews(getPackageName(), R.layout.notification);
remoteViews.setTextViewText(R.id.textView, "Custom notification text");
remoteViews.setOnClickPendingIntent(R.id.root, rootPendingIntent);

NotificationCompat.Builder builder = new NotificationCompat.Builder(this)
       .setSmallIcon(R.mipmap.ic_launcher)
       .setCustomContentView(remoteViews)
       .setStyle(new NotificationCompat.DecoratedCustomViewStyle());
Відмінність від старого способу в тому, що ми викликаємо метод setCustomContentView, а не setContent, і використовуємо стиль DecoratedCustomViewStyle.
Результат:
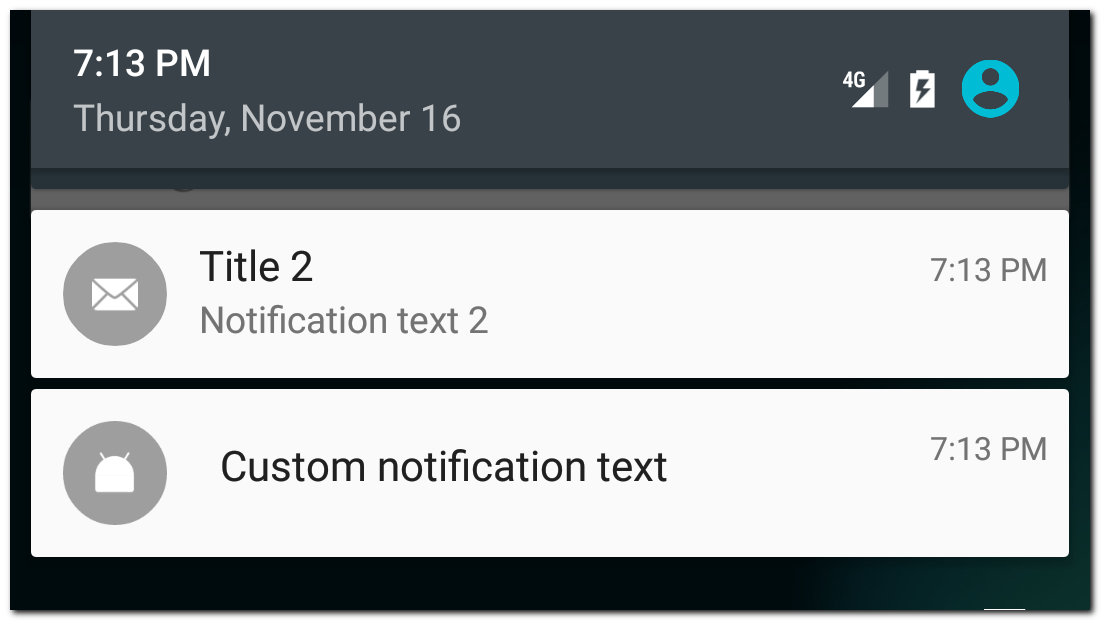
Зверніть увагу, що в цьому разі кастомізується вже не все сповіщення, а тільки його зміст. А інші частини сповіщення, як-от іконка, час або action кнопки залишаться на своїх місцях.
Використання DecoratedCustomViewStyle дає нам можливість кастомізувати і розширене повідомлення.
Приклад
RemoteViews remoteViews = new RemoteViews(getPackageName(), R.layout.notification);
remoteViews.setTextViewText(R.id.textView, "Custom notification text");
remoteViews.setOnClickPendingIntent(R.id.root, rootPendingIntent);

RemoteViews remoteViewsExtended = new RemoteViews(getPackageName(), R.layout.extended_notification);
remoteViewsExtended.setTextViewText(R.id.textView, "Extended custom notification text");
remoteViewsExtended.setOnClickPendingIntent(R.id.root, rootPendingIntent);

NotificationCompat.Builder builder = new NotificationCompat.Builder(this)
       .setSmallIcon(R.mipmap.ic_launcher)
       .setCustomContentView(remoteViews)
       .setCustomBigContentView(remoteViewsExtended)
       .setStyle(new NotificationCompat.DecoratedCustomViewStyle());
Тут ми кастомізуємо і звичайний вигляд повідомлення (setCustomContentView), і розширений (setCustomBigContentView).
Результат:
Висота layout розширеного повідомлення має бути не більшою за 256dp.